Basic Installation of VMware ESXi
For installation, you will need a server with a USB stick and a client computer with a copy of the Windows operating system.
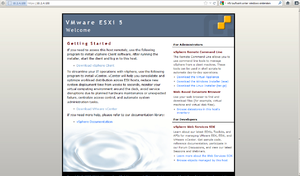
- After the client has been downloaded and installed, start the vSphere Client and choose your host.
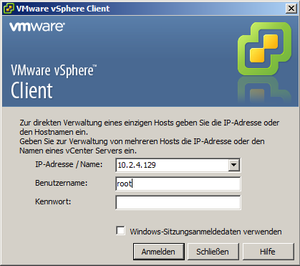
- Now, you can log in using the IP address and the user name and password previously assigned to you.
Creating VMware vSphere Client Virtual Machines
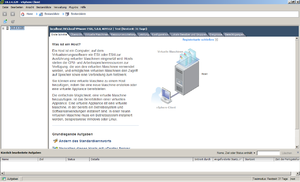
- You will now see the user interface for the vSphere Clients, which you can use to configure your virtual machines.
- The CPU and the RAM will be detected automatically and can be
assigned. Thus, you will merely need to allocate hard disk storage space
in the first step.
- In this example, storage space will be drawn through NFS and made
available from an IOMega Storage "cube". This configuration has already
been prepared.
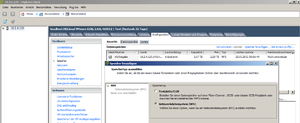
- To add the hard disk storage area, click on the ESXi machine, go to
Configuration, and click the Storage tab on the left. Hard disks are
not yet displayed there, therefore you will have to add the storage
using the Confirm button.
- Now you can create the virtual machines. To do this, go to File / New / Virtual Machines
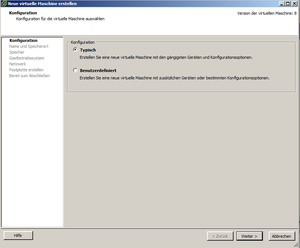
- From there, you will be able to choose between the Typical and Custom options.
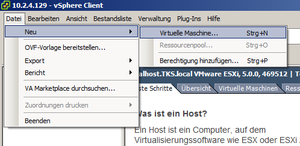
- If you have not yet familiarized yourself with virtual machines, the Typical option is worth recommending.
- The following settings still need to set.
- Name and Location: Assign the name of the computer for this, such as Windows 7 64Bit.
- Data Store: Assign some storage (a datastore) to the virtual machine, an NFS share in this case.
- Guest Operating System: Using this entry, you can assign a specific operation system to the machine, Microsoft Windows 7, for example.
- Network: Enter the number of virtual NICs that you want to use here. The maximum possible is 4 vNICs.
- Create a Virtual Disk: In this step, you will specify how
much storage space you want to provide to the virtual machine. This
value can be changed later.
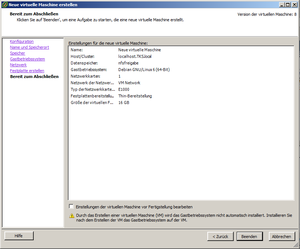
- Ready to Complete: This last step will present the values that you have just configured for confirmation.
-
Overview after configuration has been completed.
- The virtual machine has now been created.
- Now, you need to assign, for example, a Windows 7 image to the
machine and boot it. To do this, first click on the name of your machine
and then on the Keyboard Video Mouse (KVM) icon.

- Click the CD button to either add an image from either a hardware
CD drive or choose one from an NFS datastore. Note: the image must first
have been uploaded into the NFS datastore. With an NFS datastore, this
can also be done from vSphere Datastore management or a Widows system.
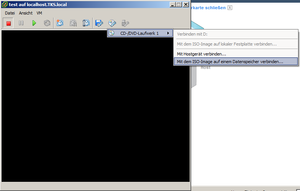
- Now, start the selected OS wizard and make the usual settings.
- You now have a fully functional virtual machine.
VMware Tools
- To make the virtual machine even more dynamic, you can install the VMWare tool. This tool offers the following advantages:
- Special programs and drivers for the guest operating system
- Simplified handling of the virtual machine
- Improved performance
- Installation under vShpere
- Freeware
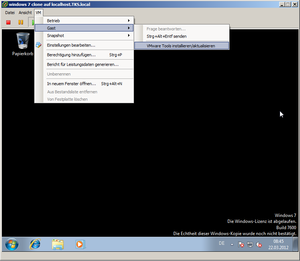
- You can install the VMWare Tools on the KVM for the machine. To do this, go to VM / Guest / Install VMWare Tools
- From there, a window will be opened under Windows to start the setup wizard.
- Once you have installed the tool, the virtual machine will have to be restarted.




No comments:
Post a Comment